 The Customer console is the main landing page where all transactions should begin. It provides a 360º view of the customer, including Alerts that may require your attention before processing the customer's transaction.
•The Customer Console is automatically displayed with the next customer's information after you click the Q-data  button.
•The Customer Console should be used as your launching point for all customer transactions. If it is not open, open it by entering I CON C=<Customer Number> (or N=<Customer Name>) OR CUSDBD C=<Customer Number> (or N=<Customer Name>) in the Direct field (Command Line). See Using Direct Commands.
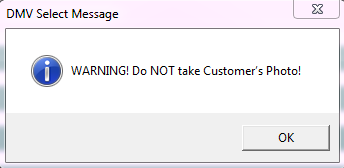
If the customer has previously issued a photoless credential, the following message box will display.
The first section in the Customer Console are the Alerts. This is where information relative to the customer's account is displayed.
Please review and take action, as necessary, by clicking the  button next to the actionable alert mySelect will navigate you to that screen. button next to the actionable alert mySelect will navigate you to that screen.
 | | Click to view full size |
If there are more than five (5) alerts, the remaining can be viewed by processing the Alerts inquiry by clicking the button next to ALERTS.
 | | Click to view full size |
|
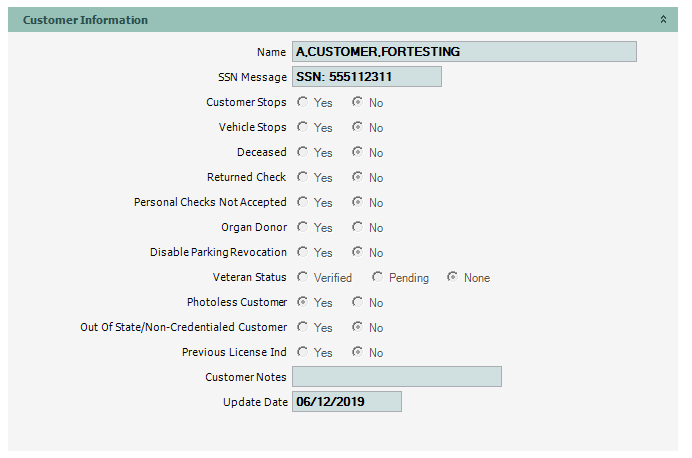
This section contains general information about the customer.
|
The credential grid displays all active credentials issued to the customer.
 As of July 1, 2018 you will no longer see the Veteran ID Card in the credential grid. As of July 1, 2018 you will no longer see the Veteran ID Card in the credential grid.
1. Scroll down to the green Credentials section heading, then click the heading. The Credentials grid expands.
|
|
|
View the issuance information
|
Click the  sign next to the credential. The grid expands to display the credential's issuance information. sign next to the credential. The grid expands to display the credential's issuance information.
 | | Click to view full size |
|
Launch a credential-related transaction
|
1.Click the down arrow in the Direct column. A drop-down appears with a list of credential-related transactions. 2.Click on the transaction you want to launch. The transaction's Direct command appears in the field.  | | Click to view full size |
Note: If choosing a Driver License Issue option, you may also select a Transaction Type.
 | | Click to view full size |
3.Click the green arrow to launch the transaction. The transaction appears in a new tab.
 | | Click to view full size |
|
|
The vehicles grid displays all active vehicles currently titled to the customer.
 If the Vehicles grid is empty, there are more than 10 vehicles owned by the Customer. Click here for instructions for viewing the vehicles. If the Vehicles grid is empty, there are more than 10 vehicles owned by the Customer. Click here for instructions for viewing the vehicles.
1.Scroll up to the Alerts section. 2.Click on the green arrow next to the alert advising "Customer has x active vehicles; Vehicles grid is disabled" . The system processes the VEHCUT transaction and display the Vehicles Currently Owned by Customer dialog with three vehicles displayed 3.To display more vehicles, click the  button. The dialog is updated to display three more vehicles. Repeat step 3 until you see the vehicle you're interested in processing a transaction for. button. The dialog is updated to display three more vehicles. Repeat step 3 until you see the vehicle you're interested in processing a transaction for. |
1.Scroll down to the green Vehicles section heading, then click the heading. The Vehicles grid expands.
|
|
|
View the title number and VIN
|
Click the sign next to the vehicle. The grid expands to display the title number and VIN.
 | | Click to view full size image |
|
Launch a vehicle-related transaction
|
1.Click the down arrow in the Direct column. A drop-down appears with a list of vehicle-related transactions. 2.Click on the transaction you want to launch. The transaction's Direct command appears in the field. 3.Click the green arrow to launch the transaction. The transaction appears in a new tab.
 | | Click to view full size image |
|
|
See Also
Open Customer Console
Quick Links
Vehicles Owned by Customer


