Add/Edit Work Area

Contents
To add/edit a Work Area (Manager Role)
1.After opening mySelect, Click Tools>Settings and then select Manage Work Areas on the main menu.
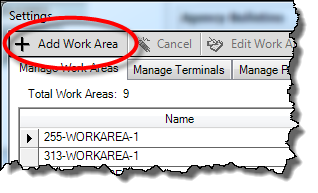
2.From the button bar, click the Add Work Area (or Edit Work Area) button. The system opens the Settings dialog for Work Area editing and leaves your insertion point in the Enter Work Area Name field.
3.Enter the name for the new Work Area.
![]() The Work Area name should be meaningful to you and describe the logical grouping of workstations. For example, Front Counter, Workstation, or Back Office.
The Work Area name should be meaningful to you and describe the logical grouping of workstations. For example, Front Counter, Workstation, or Back Office.
4.From the Set Work Area Printers panel, select the printer to be used by the new Work Area.
Note: Assign one printer per print type to a work area. For example, do not have two printers for titles assigned to the same work area.
Note: Your Work Area Terminal equals your assigned DMV License Number. You can find your License Number by clicking on Help on the tool bar at the top of the main page and selecting "About DMV Select".
5.Click the right arrow ![]() to move the printer to the right panel. This assigns the printer to the Work Area.
to move the printer to the right panel. This assigns the printer to the Work Area.
6.From the Set Work Area Terminals panel, select the terminal to be added to the new Work area.
7.Click the right arrow ![]() to move the terminal to the right panel. This assigns the terminal to the Work Area.
to move the terminal to the right panel. This assigns the terminal to the Work Area.

8.Click the Save Work Area button.
9.Click the Close ![]() button to exit.
button to exit.
See also