Renewal Registration

Contents
The Renewal Registration transaction is used to process renewals of plates/registrations that already exist on the customer's vehicle record.
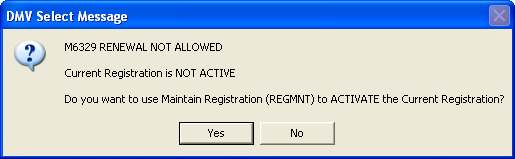
![]() The current registration must be in an active status in order to renew. If it is not, you will receive the following message, which gives you an option to jump to the Registration Maintenance transaction to change its status to Active:
The current registration must be in an active status in order to renew. If it is not, you will receive the following message, which gives you an option to jump to the Registration Maintenance transaction to change its status to Active:
To process a Renewal Registration transaction
1.If not already open, Open the Customer Console using the customer's number or name.
From the Console Go To ..... |
Path to Follow ..... |
Alerts Grid |
An Alert message will display for expired registration(s). To view vehicles, use the Vehicle Grid. |
Vehicle Grid |
1.Expand the Vehicles section by clicking somewhere in the green bar. 2.Click the 3.Select Renewal Registration. REGREN appears in the Direct field. 4.Click the 5.Continue with step 2. |
Transaction Menu |
1.Click the Transaction Menu button in the Main Menu Bar. 2.Navigate to Registration Transactions>Customer Registration>Renewal Registration(REGREN). 3.Click on the Renewal Registration(REGREN), the Renewal Registration Inquire form appears with the selected vehicles information. Click the Inquire 4.Continue with step 2. |
Command Line |
1. Enter REGREN, then press the Enter key. The Renewal Registration transaction form appears. 2. Continue with step 2. |
Quick Navigation |
From the Renewal Registration screen Click the Quick Navigation •Change All Addresses •Maintain Vehicle (Page 1) •Maintain Vehicle (Page 2) •Maintain Vehicle (Page 3) •Vehicle Information |
2.Enter the required information as indicated by the ![]() icon and any other information needed. Then click the Process
icon and any other information needed. Then click the Process ![]() button.
button.
![]() When processing a registration transaction for a moped, since insurance is not required, the insurance confirmation will not display.
When processing a registration transaction for a moped, since insurance is not required, the insurance confirmation will not display.
The Insurance / UMV Verification dialog appears. Read the disclosure(s) to the customer and select the radio button that corresponds to their response. Once the response(s) have been recorded, click the Close ![]() button to close the Insurance/UMV Verification window.
button to close the Insurance/UMV Verification window.
The Primary Mailing Address window opens. Verify the registration address with the customer and click the appropriate button at the bottom of the window.
![]() If the vehicle record has a registration address, "Yes" will be displayed in the Other Registration Address Exist field in the address confirmation window.
If the vehicle record has a registration address, "Yes" will be displayed in the Other Registration Address Exist field in the address confirmation window.
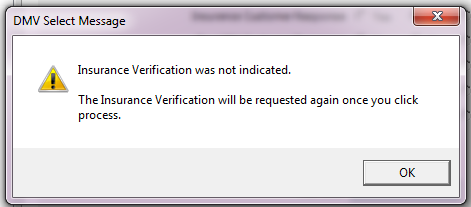
If the Insurance disclosure window is closed before replying to the statement(s), the following pop-up message will display.
3.mySelect first pulls the Month decal from inventory and displays a message box with the decal information and confirmation to use the decal.
Click the OK ![]() button to continue.
button to continue.
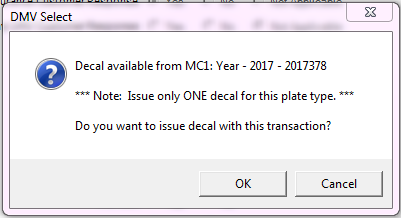
Then the Year decal is pulled from inventory and displays a message box with the decal information and confirmation to use the decal.
Click the OK ![]() button to continue.
button to continue.
If the customer's vehicle requires only one decal the following message box will display.
4.The Transaction Details Payment window opens. Enter the payment information.
![]() For more information about processing multiple transactions, see Payment Processing.
For more information about processing multiple transactions, see Payment Processing.
![]() If entering a late fee exemption code and your security role does not allow you to process, a manager/designee assistance will need to authorize the exception. See Late Fee Exceptions Authorization below.
If entering a late fee exemption code and your security role does not allow you to process, a manager/designee assistance will need to authorize the exception. See Late Fee Exceptions Authorization below.
5.Click the Process ![]() button. The transaction is processed and the Receipt Details dialog appears. Print the receipt then Click the Close
button. The transaction is processed and the Receipt Details dialog appears. Print the receipt then Click the Close ![]() button to continue.
button to continue.
6.The Transaction Details dialog appears with the TRANSACTION PROCESSED ######## message (########=the title number).
7.Give the customer the products and receipt.
8.Click the Close ![]() button to close the Transaction Details dialog.
button to close the Transaction Details dialog.
9.Click the Close ![]() button to complete the transaction.
button to complete the transaction.
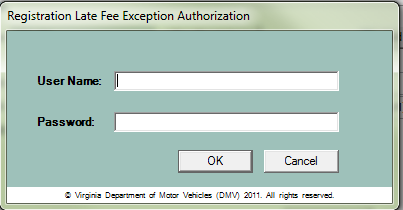
 Late Fee Exceptions Authorization
1.When the vehicle registration fee payment is late due to various reasons, the late fee may be waived with managements approval. Select the appropriate fee exception reason. Click the Recalculate Fee
2.When a no late fee Fee Exception code is entered and based on your security level, a Registration Late Fee Exception Authorization box may appear. In order to continue, an authorizing user, such as a manager or designee assistance will need to enter their Credentials (the same credentials used when logging into mySelect ) and then click OK.
3. Once authorization is given, continue with step 8 above. |