Add a Printer

Contents
The Add Printer functionality configures the Windows printer already configured on your Windows desktop to work with mySelect.
How to add a Printer (Manager Role)
1.After opening mySelect, Click Tools>Settings and then select Manage Printers on the main menu. The Settings dialog appears with the Manage Printers tab active.

2.Click the Add Printer ![]() button.
button.
3.Click the Select Printer drop-down. The list displays all printers configured on your workstation.
![]() If the printer you want to configure does not appear in the list, contact your system administrator.
If the printer you want to configure does not appear in the list, contact your system administrator.
4.Select the printer you want to add.
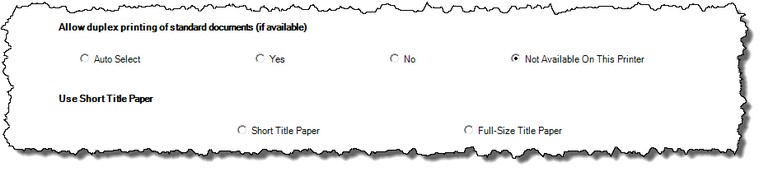
5.The radio button sections open to allow you to select duplex printing for standard documents and Title paper.
![]() It is important to get the paper trays configured properly to ensure titles are printed on the title inventory.
It is important to get the paper trays configured properly to ensure titles are printed on the title inventory.
6.Click the Save Printer ![]() button.
button.
7.Add the new printer to the appropriate Work Area.
See also